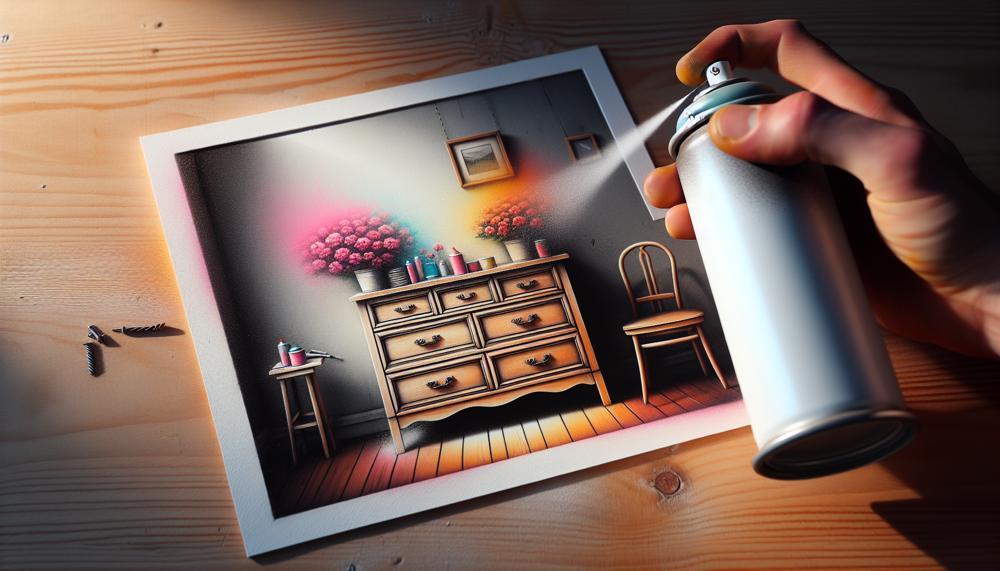
Are you sick of the monotonous and laborious task of sanding your dresser before giving it a fresh coat of paint?
Well, say goodbye to that hassle because we have the ultimate solution for you – spray painting. That’s right, you can now achieve a flawless finish on your dresser without the dreaded sanding process.
This revolutionary technique not only saves you time and energy, but also transforms your old dresser into a chic and modern piece. In this blog post, we’ll walk you through the step-by-step process of spray painting a dresser without any sanding involved.
So, grab your paint cans and get ready to give your furniture a stunning makeover.
Contents
Painting Furniture the Easy Way
Giving your old furniture a fresh new look has never been easier with the convenience of spray painting. It saves time and effort compared to traditional brush painting, but proper preparation is key to achieving a flawless and long-lasting finish.
Here, we will discuss the best practices for preparing a dresser before spray painting, so you can achieve professional-looking results without the hassle of sanding.
Step 1: Thoroughly Clean the Surface
Before starting any painting project, it’s crucial to clean the surface thoroughly. This step is especially important for furniture, as it may have accumulated dirt, oils, and grime over time.
Use warm soapy water and a clean cloth to wipe down the dresser and drawers, ensuring all dirt and stains are removed. Allow the piece to dry completely before moving on to the next step.
Step 2: Apply a Stain Blocker
To prevent any stains or discoloration from showing through the paint, it’s recommended to apply a stain blocker before painting. This will also help the paint adhere better to the surface.
You can choose between a spray-on or brush-on stain blocker, depending on your preference.
Step 3: Select the Right Primer
Priming is an essential step in preparing wooden furniture for spray painting. It helps increase durability and adhesion of the paint, resulting in a smoother finish.
There are various types of primers available, such as oil-based, water-based, and shellac-based. Choose one that best suits your needs and follow the manufacturer’s instructions for application.
Step 4: Explore Alternatives to Sanding
Although sanding is typically recommended before painting furniture, there are alternative methods that can save you time and effort.
Liquid sandpaper or deglosser can be used to remove gloss from the wood surface, making it easier to achieve a smooth finish without the laborious task of sanding.
What is the Best Furniture Paint?
When it comes to reviving old furniture, choosing the right paint is essential. However, the daunting task of sanding and priming can often discourage DIY enthusiasts.
There are various types of paint that can adhere to furniture with ease, without the need for sanding. Here are the top contenders for painting furniture without the hassle of sanding.
Latex Paint – The Water-Based Wonder
Latex paint, known for its outstanding adhesion and flexibility, is a water-based paint that can effortlessly stick to a variety of surfaces such as wood, metal, and laminate. This makes it a top choice among DIYers seeking a stress-free painting experience.
With a vast range of colors and finishes available, finding the perfect shade for your furniture project is a breeze.
Acrylic Latex Paint – The Durable Dynamo
Similar to traditional latex paint, acrylic latex paint is also water-based and offers exceptional adhesion.
Its durability and ease of cleaning make it a popular choice for high-traffic furniture pieces like dressers and tables. The added bonus? It is self-priming, meaning no sanding or priming is required beforehand.
Heirloom Traditions Paint – The Savior for Slick Surfaces
For those with slick and shiny furniture, such as laminate, Heirloom Traditions Paint is the go-to option. This paint is specially formulated for difficult surfaces and provides superior adhesion without any sanding or priming necessary.
It boasts a wide range of colors and a satin sheen finish, giving your furniture a professional and sophisticated appearance.
Mineral Paint – The Waterproof Wonder
Mineral paint is a water-based paint that excels in adhesion on various surfaces such as wood, metal, and even plastic. Its standout feature? It is waterproof and stain-resistant, making it ideal for outdoor furniture or areas with high moisture.
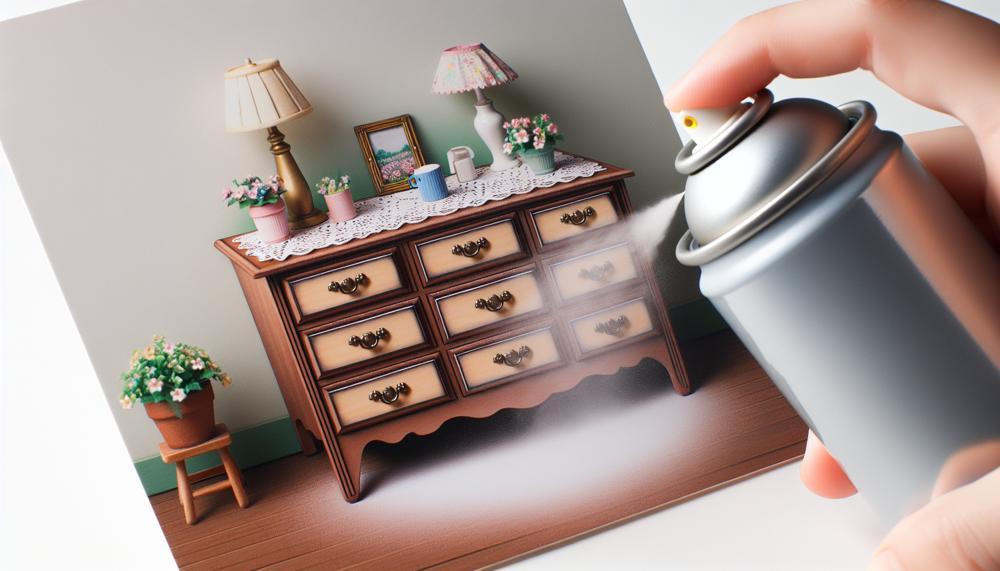
How to Paint a Dresser Without Sanding
Refinishing a dresser without the tedious process of sanding may seem like a daunting task, but fear not.
As an expert in this field, I have extensively researched and tested various techniques to help you achieve a professional-looking finish without the hassle. With the help of my tried and true methods, you can transform your furniture with ease. Here’s what you need to do:
Prepare the surface
The first step is to ensure that the dresser’s surface is clean.
Use warm, soapy water to remove any dirt or grime, and be sure to dry it thoroughly before moving on.
Test the tint
Before applying paint all over, it’s wise to test the tint on a small, inconspicuous area of the dresser.
This will help determine if the color is suitable and if the paint adheres well to the surface.
Utilize primer
A primer is essential for enhancing paint adhesion and durability while creating a smooth and even finish.
There are various types of primers available, so choose one that suits your project’s needs.
Consider alternatives
If sanding isn’t your style, there are alternative options to try.
Liquid sandpaper or deglosser can remove gloss from wood surfaces, while bonding agents mixed with milk paint powder or adhesive chalk dye offer a non-toxic and quick-drying option with a matte finish.
Select suitable equipment
When using spray dye, it’s crucial to invest in quality products and follow instructions carefully for optimal results.
Apply thin coats
To avoid drips and achieve a flawless finish, it’s best to apply thin layers of paint gradually rather than one thick coat.
Seal and protect
Once the painting is complete, seal the surface with a protective topcoat for long-lasting results.
Remember, refinishing a dresser without sanding doesn’t have to be complicated or time-consuming.
How to Paint a Dresser Without Sanding
Are you tired of your drab and outdated dresser and eager to give it a fresh new look? Perhaps you stumbled upon a bargain second-hand dresser, but it needs a little TLC? Whatever the motive, painting your dresser can elevate its appearance and infuse character into your home decor.
However, the thought of sanding the entire surface can be overwhelming and time-consuming.
We have got you covered with our effortless guide on how to paint a dresser without sanding.
Step 1: Prep the Surface
Before diving into painting, it is crucial to prepare the surface adequately. Begin by thoroughly cleaning the dresser and drawers with warm, soapy water to eliminate any grime and oils.
Ensure they are completely dry before moving on to the next step.
Step 2: Test the Pigment
It is essential to test the pigment on a small, inconspicuous area of your dresser before proceeding.
This will allow you to determine if the color is suitable for your desired look and give you an idea of how many coats will be needed for full coverage.
Step 3: Apply Primer
Although sanding is not mandatory before painting, using primer can enhance the paint’s durability and adhesion. There are several types of primers available in the market, so select one that best fits your requirements.
Step 4: Choose Your Paint
When it comes to choosing paint for wooden furniture, there are numerous options available.
You can opt for regular spray paint or liquid sandpaper, which acts as a deglosser and removes the shine from the wood surface.
For a non-toxic and quick-drying alternative, bonding agents mixed with milk paint powder or adhesive chalk dye can also be used.
Conclusion
Tired of the laborious and time-consuming process of sanding your dresser before painting it?
Well, say goodbye to that tedious task because we have an easy guide for you. No more sanding required, just follow these simple steps: clean the surface thoroughly, test the pigment, apply primer, choose your paint, and start spraying.
And remember to use high-quality products and apply thin coats for a flawless finish.
Don’t forget to protect your newly painted dresser with a topcoat for long-lasting results.