Are you tired of the hassle and mess that comes with traditional sprayer attachments? Look no further, because we have the perfect solution for you. Say goodbye to frustrating hose connections and hello to the convenience of a quick connect sprayer. In this blog post, we will guide you through the simple process of capping off your quick connect sprayer. Get ready to save time and eliminate frustration with these key points:
- Quick connect sprayers are gaining popularity due to their efficiency and ease of use.
- Capping off your quick connect sprayer is crucial for preventing leaks and maintaining its longevity.
- Our step-by-step guide will make capping off your sprayer effortless and stress-free.
- No more fumbling with multiple attachments or dealing with tangled hoses – the quick connect system streamlines your spraying process.
- Whether you’re using it for gardening, washing your car, or any other outdoor task, a capped off quick connect sprayer will make your life so much easier.
Say goodbye to pesky hose connections slowing you down. Follow our expert tips and tricks for capping off your quick connect sprayer and enjoy a hassle-free spraying experience. Let’s get started.
Contents
- 1 How To Cap Off A Quick Connect Sprayer?
- 2 Reasons to Cap Off a Quick Connect Sprayer
- 3 Preparing for the Removal Process
- 4 Removing the Sprayer and Hose Connector
- 5 Installing a Threaded Brass Flare Cap
- 6 Adding a Sink Hole Cover in Place of the Sprayer
- 7 Optional: Installing a Soap Dispenser
- 8 Conclusion
How To Cap Off A Quick Connect Sprayer?
To properly cap off a quick connect sprayer and prevent leaks, follow these simple steps:
Turn off the water supply
Firstly, shut off the water supply by using the valves located beneath the sink or the main water supply valve in your home. After that, make sure to drain any excess water from the supply lines.
Detach the sprayer from the hose
Next, detach the sprayer from the hose by pulling it straight off.
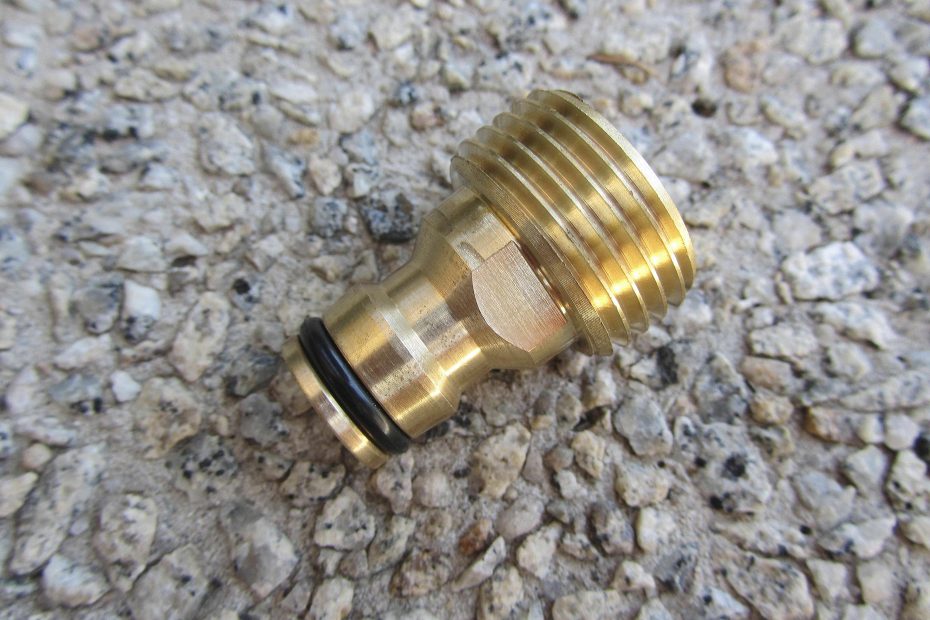
Replace caps on connectors
Carefully replace the caps on each component, ensuring that they are securely snapped into place with the larger circumference facing away from the sprayer or hose.
Store safely
Once capped off, you can safely store the quick connect sprayer without any worries of potential leaks.
Optional: Use faucet without sprayer
If you prefer to use a faucet with a sprayer without actually using the sprayer itself, simply turn on the regular function with an additional handle or use the same handle for both functions.
Optional: Install sink hole cover or soap dispenser
For added convenience, you can also opt to install a sink hole cover or soap dispenser in place of the sprayer if desired.
By properly capping off a quick connect sprayer, you can easily prevent leaks and prolong its lifespan. This process only takes approximately 30 minutes and can save you from potential headaches and costly repairs in the future. Additionally, regularly checking for visible leaks and tightening connections as needed can also help maintain its functionality.
Reasons to Cap Off a Quick Connect Sprayer
There are various reasons to cap off a quick connect sprayer on your kitchen sink, and it is crucial to do so in certain situations. Here are some of the primary benefits and reasons to consider:
Avoids Future Issues
If the sprayer is not being used frequently or is causing problems like leakage or low water pressure, it may be better to completely remove it instead of trying to fix it. Capping off the sprayer ensures that it will not cause any future issues and eliminates the need for repairs or replacements.
Saves Time and Money
Removing a sprayer is a simple task that can be completed in about 30 minutes without the need for a professional plumber. This saves both time and money compared to repairing or replacing a faulty sprayer.
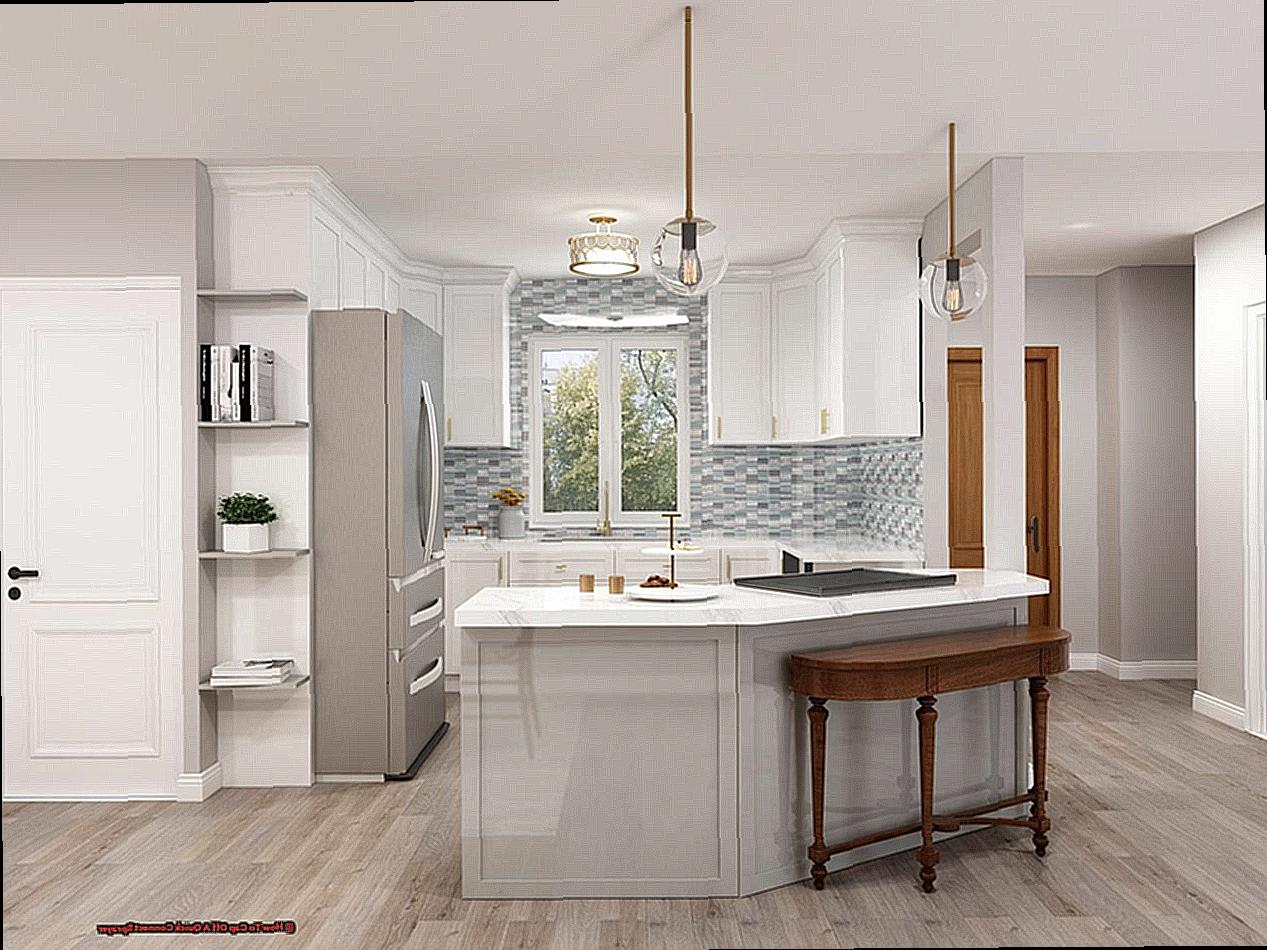
Clean and Polished Look
A quick connect sprayer on your kitchen sink can sometimes appear bulky and cluttered, especially if it is not being used frequently. By capping it off and replacing it with a sink hole cover or soap dispenser, you can achieve a clean and polished look for your sink area.
Alternative Choices
Capping off a quick connect sprayer also opens up the possibility of using alternative options, such as a soap dispenser or an extra hole for a filtered water faucet. This allows for more customization and convenience in your kitchen sink setup.
In conclusion, there are many benefits to capping off a quick connect sprayer, including avoiding future issues, saving time and money, achieving a clean look, and providing alternative choices for your kitchen sink.
Preparing for the Removal Process
Before beginning the removal process for a quick connect sprayer, there are several crucial steps that must be taken to ensure a smooth and successful outcome. These steps involve manipulating the fitting’s tabs, wrapping the threads with pipe-joint tape, and locating and removing the mounting nut that secures the sprayer support to the sink or countertop. Additionally, you must securely grip and unscrew the hose connector nut while simultaneously supporting the brass fitting to prevent any damage to the copper tubing. Once these necessary steps have been completed, you can easily remove the sprayer hose from above the sink. For a more detailed explanation of each step, please see the table provided below:
| Step | Description |
| 1. | Press together on the ridged, square tabs located on either side of the fitting. If needed, gently push up on the fitting to compress the tabs. Avoid pulling out on the tabs as this can cause the hose to lock onto the tube. |
| 2. | Cover the threads with pipe-joint tape and then twist on the ⅜ inch threaded brass flare cap. Use pliers to securely tighten the connection. |
| 3. | Locate and loosen the mounting nut that secures the sprayer support to the sink or countertop under your sink. If necessary, use a basin wrench if it is out of reach by hand. |
| 4. | Using one set of pliers, firmly grip onto the brass connection and unscrew the hose connector nut using another set of pliers. It is crucial to support and stabilize the brass fitting while doing this to prevent any twisting or breaking of the copper tubing connected to the faucet. |
| 5. | Once the hose has been disconnected from the faucet, simply pull the sprayer hose up and out from above the sink. |
It is important to follow these necessary steps before removing a quick connect sprayer in order to ensure a safe and successful removal process.
Removing the Sprayer and Hose Connector
In order to detach the sprayer and hose connector from a quick connect system, adhere to these uncomplicated instructions:
Locate the quick connect fastener on the sprayer hose. This is typically found near the base of the sprayer, where it joins with the faucet.
Squeeze together the ridged, square tabs on either side of the fastener. This may require some exertion, so use your fingers or a pair of pliers if necessary. Remember to squeeze at the root of the tabs, where they meet with the fastener.
While still compressing the tabs, softly pull downwards on the quick connect fastener to remove it from the hose. Be cautious not to pull too strenuously or you may damage the hose.
Once the quick connect has been removed, wrap the threads with pipe-joint tape to guarantee a firm and secure connection.
Next, locate the mounting nut that secures the sprayer support to the sink or countertop beneath it. Use a basin wrench if you cannot reach it manually.
Loosen and extract the mounting nut, then grip the brass connection with one pair of pliers and hold it still.
Using another pair of pliers, unscrew the hose connector nut from brass connection. Ensure you hold onto the brass fitting to prevent any twisting or potential harm to the copper tubing.
With the hose connector nut detached, you can now pull upwards and remove the sprayer hose from above sink.
Your sprayer and hose connector should now be successfully eliminated from your quick connect system.
Removing a sprayer and hose connector from a quick connect system may seem like an effortless process, but it is crucial to follow these steps cautiously to avoid any damage or complications.
Installing a Threaded Brass Flare Cap
When it comes to installing a threaded brass flare cap on a quick connect sprayer, you’ll need some important tools by your side.
These include a threaded brass flare cap itself, a trusty pipe wrench, some Teflon tape, adjustable pliers for those tricky moments, and either a pipe cutter or a hacksaw.
Adding a Sink Hole Cover in Place of the Sprayer
To replace a sprayer with a sink hole cover in your kitchen, simply follow these steps:
- Begin by gathering all of the necessary tools and materials for the job. This includes a sink hole cover, an adjustable wrench, plumber’s tape, and possibly a screwdriver.
- Before starting any work, make sure to turn off the water supply to your sink.
- Using an adjustable wrench, unscrew the nut that connects the sprayer hose to the bottom of your faucet. Once the nut is removed, you can pull out the hose.
- Next, remove the sprayer head from the hose by turning it counterclockwise.
- Take some plumber’s tape and wrap it around the threads of the sink hole cover. Then, install the cover into the sink hole.
- Attach the sprayer hose to the bottom of the sink using the nut that was previously removed.
- Finally, turn on the water supply and check for any leaks.
By following these simple steps, you can easily replace a sprayer with a sink hole cover in your kitchen. Ensure that you have all of the necessary tools and materials before starting, and remember to turn off the water supply before beginning any work.
Optional: Installing a Soap Dispenser
A comprehensive guide on how to properly install a soap dispenser with a quick connect sprayer is provided below.
Step 1: Collect necessary materials and tools
Before beginning the installation process, ensure that you have all the required materials and tools on hand. This includes a soap dispenser with a quick connect sprayer, plumber’s tape, a drill, drill bits, and a wrench.
Step 2: Prepare the installation surface
Thoroughly clean the area where you intend to install the soap dispenser to remove any debris. This will ensure a smooth and secure installation.
Step 3: Drill the hole
Using an appropriate drill bit, carefully create a hole in the desired location on your sink for the dispenser. Take your time and proceed slowly to avoid damaging your sink.
Step 4: Position and secure the dispenser body
After drilling the hole, insert the dispenser body through it and use the provided mounting hardware to secure it in place. Ensure that it is tightly fastened to prevent any potential leaks in the future.
Step 5: Connect the pump and bottle
Attach the pump to the dispenser body by inserting it into the quick connect sprayer. Then, securely screw on the soap bottle.
Step 6: Test for functionality
Turn on the water supply and test the soap dispenser by pressing down on the pump. If everything is correctly connected, soap should be dispensed without any leaks or issues.
Step 7: Maintain and troubleshoot
Regularly clean your soap dispenser with warm water and vinegar to prevent clogging or buildup. If you encounter any problems with its functioning, refer to your user manual or contact customer support for assistance.
Conclusion
In conclusion, traditional sprayer attachments can be a source of frustration with their messy and time-consuming hose connections. But fear not, the solution to this problem is simple: switch to a quick connect sprayer. These innovative sprayers are gaining popularity for their efficiency and ease of use, making them a must-have for any outdoor task. And when it comes to capping off your quick connect sprayer, it’s essential for preventing leaks and ensuring its longevity.
Our step-by-step guide has equipped you with all the necessary information to effortlessly cap off your quick connect sprayer. No more fumbling with multiple attachments or dealing with tangled hoses – the quick connect system streamlines your spraying process. Whether you’re using it for gardening, washing your car, or any other outdoor task, a capped off quick connect sprayer will make your life so much easier.
Say goodbye to pesky hose connections slowing you down by following our expert tips and tricks. Capping off your quick connect sprayer not only saves time and eliminates frustration but also opens up alternative choices such as installing a sink hole cover or soap dispenser in its place.